Setup development environment
Install tools chain
Install Virtualbox
https://www.virtualbox.org/wiki/Downloads
Install Vagrant
https://www.vagrantup.com/downloads
Clone backend-devenv
https://bitbucket.org/18kings/18kings-devenv
Framework reference
NestJS https://docs.nestjs.com/
Ant Design https://ant.design/
Setup environment
Step1: Start Vagrant
# Install disksize vagrant plugins
vagrant plugin install vagrant-disksize

# Cd to 18kings-devenv folder
cd d:/works/18kings-devenv

# Start machine
vagrant up

# Login into machine's shell
vagrant ssh

# Change user to root
sudo su -

...

# If you want to shutdown Vagrant
exit
exit
vagrant halt
Step2: Run setup environment script in vagrant
Following step below will be executed in vagrant machine
# Enter vagrant folder
cd /vagrant

# Run prepare script
./prepare-env-dev.sh
Step3: Start database cluster
Following step below will be executed in vagrant machine
# Enter dbs folder
cd /dbs

# Run cluster
docker-compose up -d
Step4: Edit host machine
Following step below will be executed in host machine
Open host file C:\Windows\System32\drivers\etc\hosts, add lines
# Host in vagrant machine
172.16.1.55 18kings.store.postgres
172.16.1.55 18kings.store.redis

# Host in dev machine
127.0.0.1 18kings.service.auth
127.0.0.1 18kings.service.api
Step4: Telnet to verify
Run in power shell
telnet 172.16.1.55 5432
telnet 172.16.1.55 6379
Setup projects
Setup NPM
We would develop & use private NPM packages belong to @18kings so that backend developers need to provide their access token in their home directory for pulling private packages
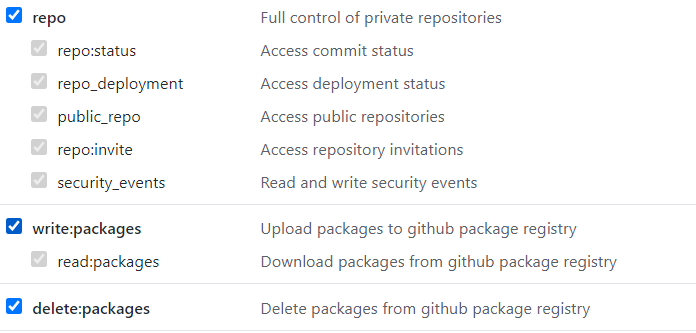
Get access token
Get npm token in Profile > Settings > Developer settings > Personal access tokens
Set the access token in home directory
Windows: C:\Users{username}.npmrc
Linux: ~/.npmrc
Replace “your_npm_token” by your access token
Pull projects
Pull projects as submodules: 18kings-devenv\18kings-services

- 18kings-api
- 18kings-auth
- 18kings-webadmin
Start {any} service
# Do the same for each projects, just replace the service name
cd 18kings-devenv\18kings-services\18kings-auth\auth-service

# Install
npm i

# Build
npm run build

# Sync database schema if needed
npm run db:sync

# Run
npm run start:dev
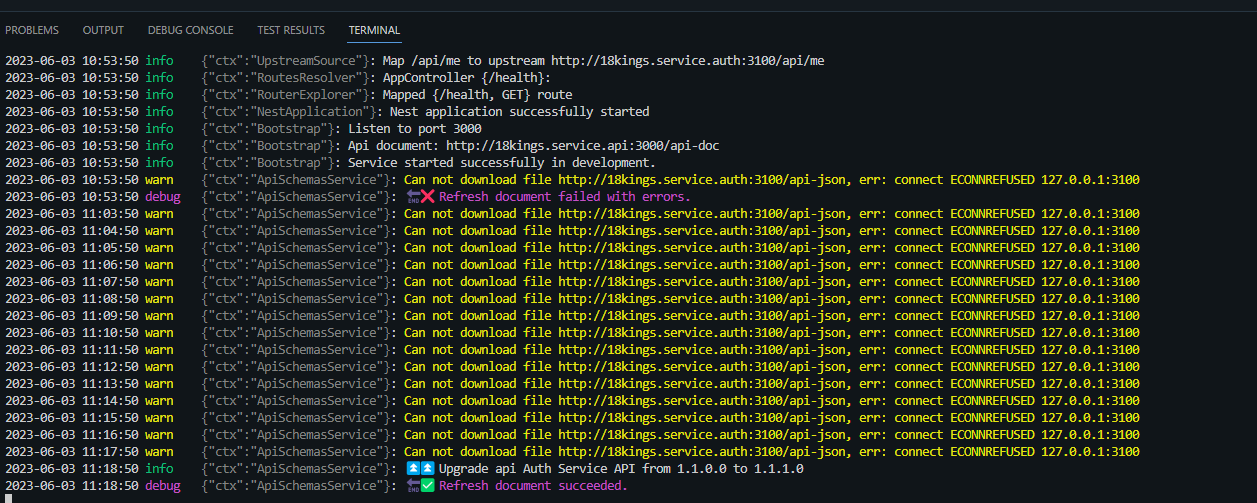
Console

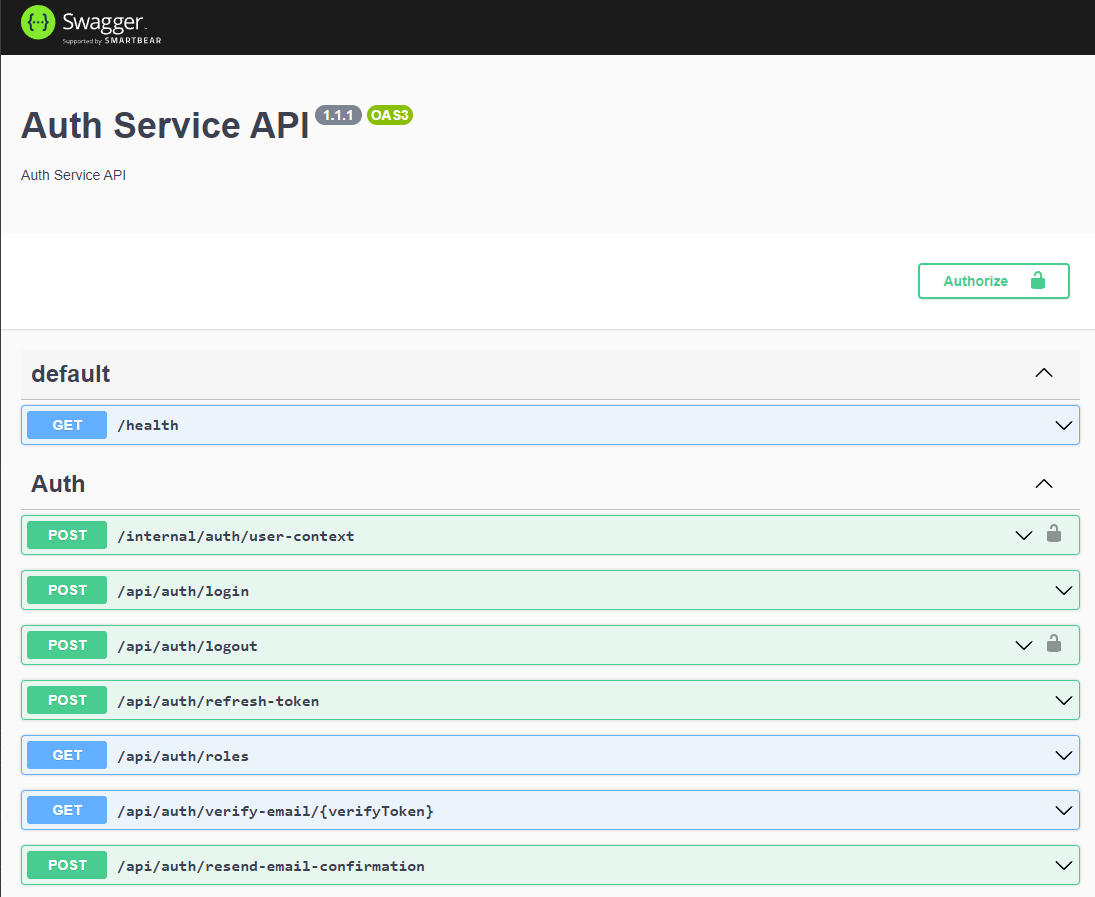
Api Docs: http://18kings.service.auth:3100/api/
Start api service
Api service will only need when working with front-end and have no-use in backend development
# Do the same for each projects
cd 18kings-devenv\18kings-services\18kings-api\api-service

# Install
npm i

# Build
npm run build

# Run
npm run start:dev